Why Your Interface Design Might Be Doomed from the Start
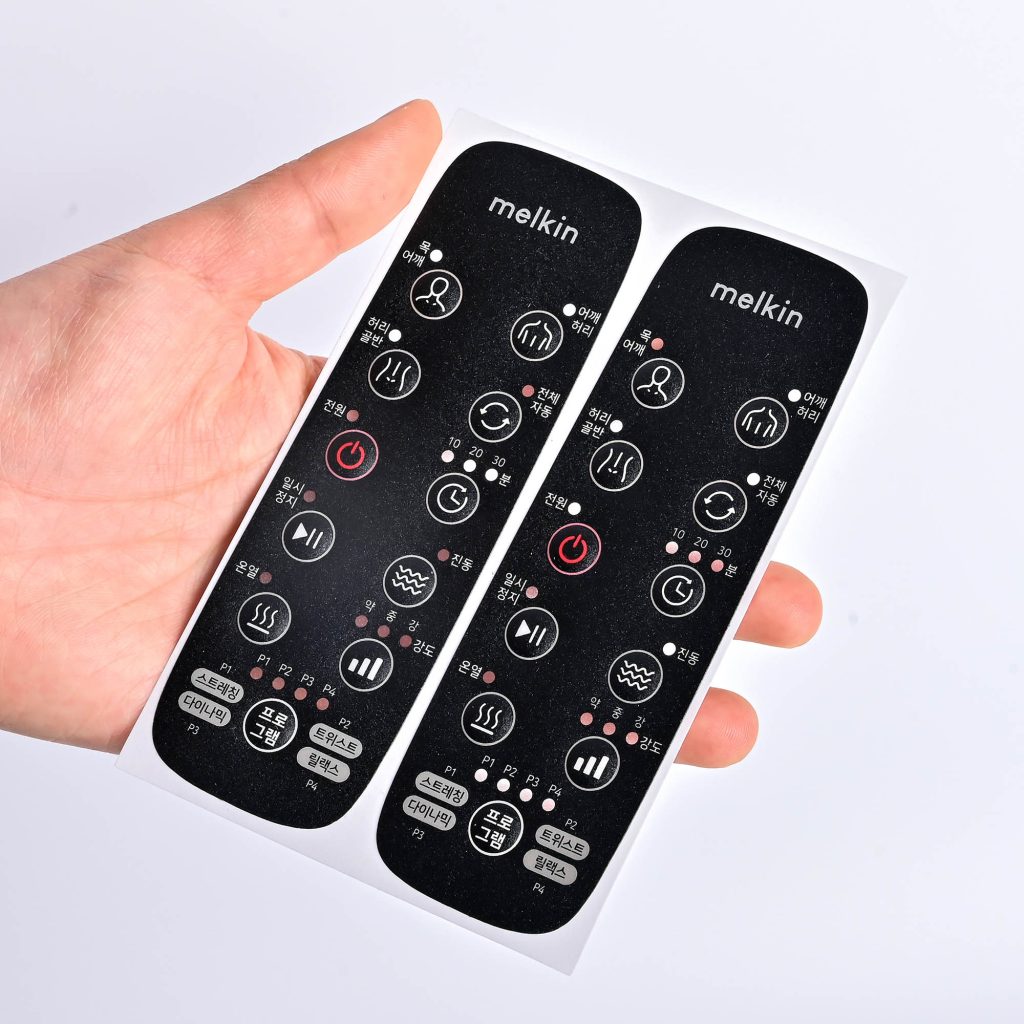
In industrial equipment and medical devices, the graphic overlay isn’t just a label—it is the physical handshake between the machine and the user. It is pressed constantly, exposed to harsh chemicals, and is often the first thing blamed when a machine appears to fail.
Peeling edges, faded icons, or unresponsive buttons aren’t just minor cosmetic flaws. They are design and manufacturing failures that trigger warranty claims, halt production lines, and severely damage brand reputation.
For OEM buyers and engineering teams, understanding the root causes of these failures is the critical first step toward building HMIs (Human-Machine Interfaces) that survive the real world.
Here are the seven most common graphic overlay failures we see in the industry, why they happen, and exactly how to engineer them out of your next project.
1. Edge Lifting and Peeling
The Problem: It usually starts as a slightly lifted corner. Within a few months, dust, moisture, and chemical cleaners seep in, compromising the entire control panel’s electronic circuitry.
Root Causes:
- Adhesive mismatch: Using standard adhesives on Low Surface Energy (LSE) materials, such as powder-coated metals or certain plastics.
- Process gaps: Inadequate surface preparation or insufficient lamination pressure on the assembly line.
- Thermal expansion: Different material layers expanding and contracting at unequal rates during extreme temperature swings.
The Engineering Fix: Never rely solely on a standard datasheet. Always specify adhesives formulated specifically for your exact substrate (e.g., 3M 300LSE for low surface energy plastics) and validate compatibility across your product’s maximum operating temperature range.
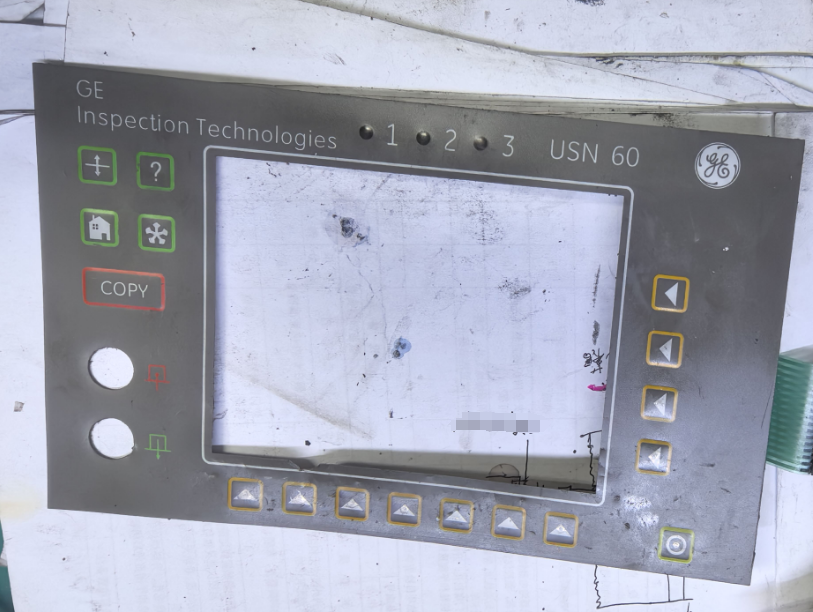
2. Fading or Worn-Out Graphics
The Problem: Crucial icons and operating instructions become unreadable after repeated wiping or prolonged UV exposure. In the medical or heavy machinery sectors, this is a massive safety and compliance risk.
Root Causes:
- Surface printing: Printing ink on the top layer where it is directly exposed to friction.
- Chemical attack: Harsh cleaning agents (like isopropyl alcohol or hospital-grade bleach) eating through unprotected surfaces.
- Non-UV inks: Standard inks degrading rapidly under sunlight.
The Engineering Fix: Utilize sub-surface printing—where the ink is printed on the back side of the transparent overlay material. This ensures users are only touching the highly durable plastic substrate, never the ink itself. Combine this with UV-cured inks and a chemical-resistant hardcoat for maximum longevity.
3. Bubbling and Delamination
The Problem: Unseemly air bubbles or physical separation between the overlay layers, creating a cheap appearance and a direct path for contamination.
Root Causes:
- Trapped air: Rushed or manual lamination techniques.
- Moisture entrapment: High humidity environments during material storage or final assembly.
- Outgassing: Certain plastics releasing trapped gases after the overlay is sealed.
The Engineering Fix: Strict environmental control is non-negotiable. Assembly and lamination must take place in a Class 10,000 (or better) cleanroom. For materials prone to outgassing, specific baking processes should be applied prior to lamination.
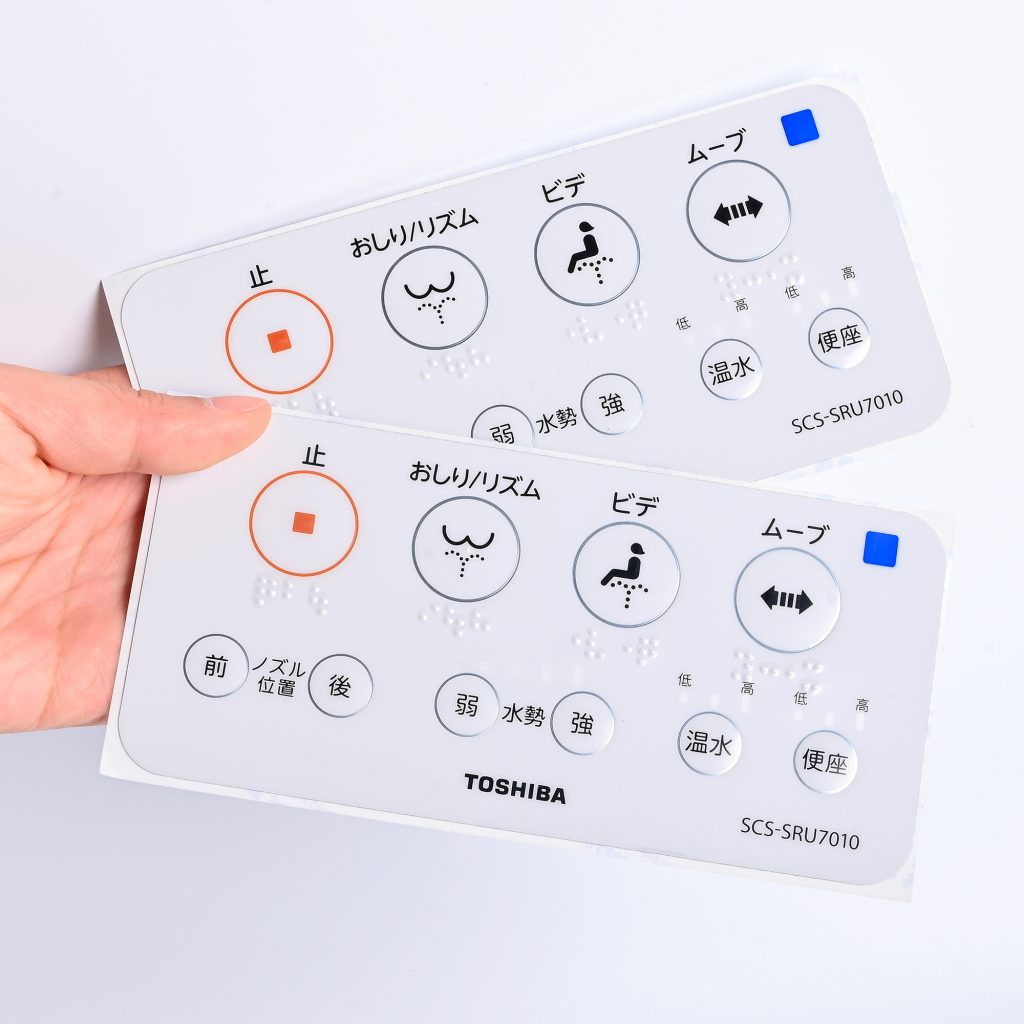
4. Poor Tactile Response (The “Mushy” Button)
The Problem: Buttons feel inconsistent, lack a distinct “click,” or fail to actuate the switch underneath. In membrane switch applications, poor tactile feedback leads to double-pressing and operator frustration.
Root Causes:
- Embossing errors: The height of the embossed button doesn’t match the travel distance of the metal dome underneath.
- Material stack-up: The total thickness of the overlay and spacer layers restricts the flexing movement.
- Layer misalignment: Poor manufacturing registration causing the tactile dome to sit off-center from the graphic button.
The Engineering Fix: Specify an exact actuation force and conduct “click ratio” lifecycle testing during pilot production. Ensure your manufacturer uses high-precision CNC tooling to perfectly align the embossing depth with the underlying circuitry.
5. Cracking Around Embossed Areas
The Problem: Micro-cracks develop around the raised edges of keys. Over time, these cracks widen, destroying the overlay’s waterproof seal.
Root Causes:
- Incorrect material selection: Specifying Polycarbonate (PC) in high-flex applications.
- Aggressive tooling: An embossing radius that is too sharp, creating massive stress concentrations in the plastic.
The Engineering Fix: If the button requires frequent pressing, Polyester (PET) is the mandatory choice over Polycarbonate. PET can withstand millions of flex cycles without fatigue. Additionally, design the embossing with a softer radius to distribute mechanical stress evenly.
6. Yellowing and Premature Aging
The Problem: The clear display windows or white backgrounds take on a muddy yellow tint, ruining the product’s aesthetic and making it look decades old.
Root Causes:
- UV degradation: Long-term exposure to direct or indirect sunlight without built-in UV inhibitors.
- Low-grade raw materials: Using non-stabilized adhesives or cheaper, commercial-grade films to cut costs.
The Engineering Fix: If the equipment will be used outdoors or near windows, explicitly demand UV-stabilized PET or PC films. Validate the design by requesting accelerated UV weathering data (such as ASTM G154 testing).
7. Complete Adhesion Failure in Harsh Environments
The Problem: The overlay completely detaches from the housing in high-humidity, outdoor, or heavy-chemical scenarios—even though it passed a basic pull test at the factory.
Root Causes:
- Wrong adhesive chemistry: Relying on standard acrylic adhesives when silicone-based adhesives are required for extreme temperature shifts.
- Insufficient testing: Approving materials based strictly on room-temperature performance, completely ignoring real-world variables.
The Engineering Fix: Short-term adhesion tests are useless for industrial applications. Require your manufacturing partner to conduct aggressive environmental cycling (rapid heat, humidity, and freeze cycles) on physical prototypes before signing off on the bill of materials.
Why Most Failures Are Entirely Preventable
After more than a decade of engineering and manufacturing graphic overlays and membrane switches at BX-PANEL, we have observed one undeniable truth:
80% of field failures are locked in during the first 20% of the design phase.
Failures are rarely random accidents. They are the direct result of:
- Material mismatch (Specifying the wrong film or adhesive for the operating environment).
- Design oversight (Ignoring real-world variables like hospital cleaning protocols or outdoor UV exposure).
- Process inconsistency (A lack of controlled cleanrooms or automated lamination during mass production).
The cost of redesigning a housing, issuing a product recall, or replacing peeling overlays in the field is exponentially higher than engineering the correct material stack-up at the prototype stage.
The Practical Takeaway
For engineers and procurement teams, the goal shouldn’t be to “fix” failures after they occur. The goal is to design them out before the first production run ever begins.
If you want to ensure your next interface performs flawlessly, you need a manufacturing partner who understands the science behind the surface.
At BX-PANEL (Xiamen XINBIXI Electronic Technology Co., Ltd.), we specialize in engineering custom graphic overlays and membrane switches built for survival. Operating from our own 3,000㎡ facility with a Class 10,000 cleanroom and a dedicated engineering team, we help OEM customers:
- Select the bulletproof material stack for their specific environment.
- Validate adhesion, tactile response, and durability before mass production.
- Scale seamlessly from early prototypes to stable, high-volume delivery.
Don’t let a failing overlay ruin a great product. 👉 Need a reliable interface solution? Let’s review your design.
Website: www.bx-panel.com
Email: [email protected]
(Tip: Mention this article in your email to receive our comprehensive Graphic Overlay Design & Material Checklist for your next project.)