
Membrane switches are widely used in electronic devices, from industrial equipment to medical panels and consumer electronics. On the surface, they appear to be simple flat interfaces. In reality, each switch is built from several functional layers that must be precisely aligned and assembled.
Graphics, circuit traces, spacer materials, and adhesives all play a role in how the switch performs. If any step in the membrane switch manufacturing process is poorly controlled, problems such as inconsistent actuation, circuit failure, or reduced lifespan can occur.
To better understand how these interfaces are produced, it helps to look at the key manufacturing stages that transform raw materials into a finished membrane switch.
Overview of the Membrane Switch Manufacturing Process
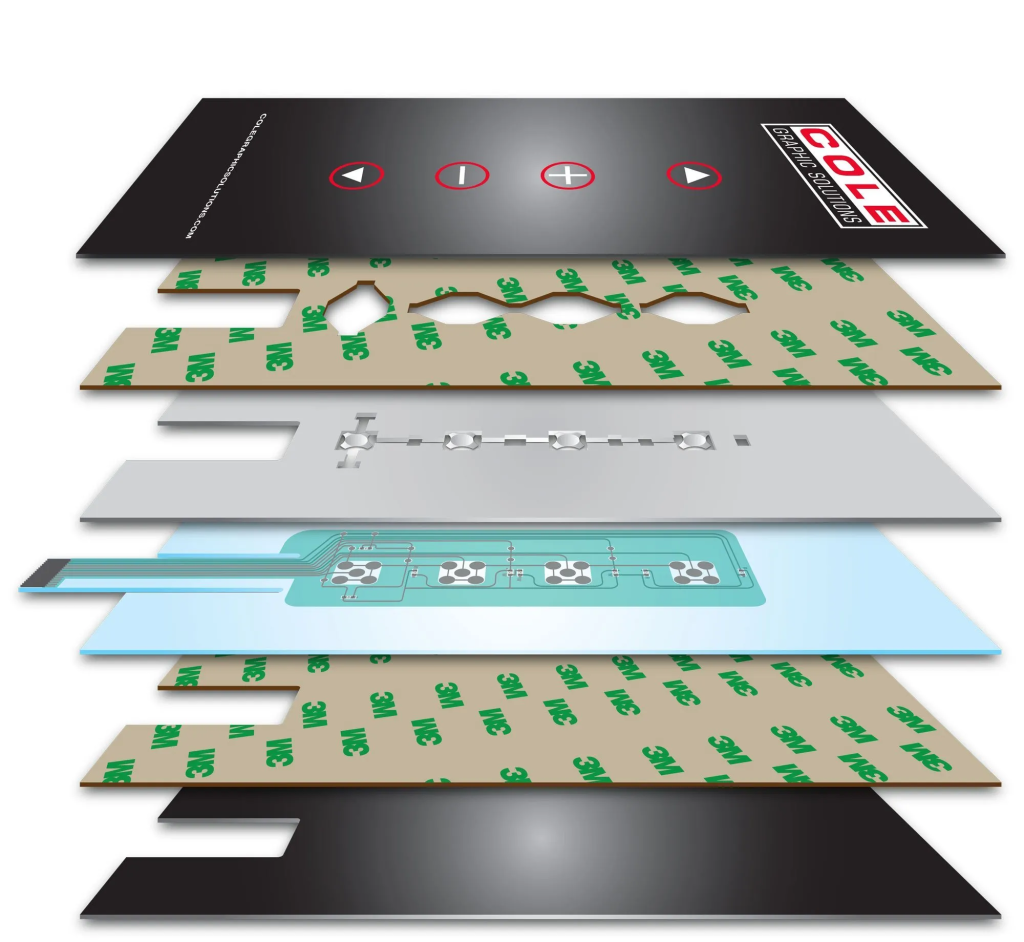
A membrane switch is typically constructed as a multilayer structure. Each layer serves a specific mechanical or electrical function.
The most common structure includes:
- Graphic overlay – the visible top surface containing icons, text, and display windows
- Adhesive layers – used to bond the layers together
- Top circuit layer – printed with conductive ink on polyester film
- Spacer layer – separates the two circuit layers to prevent unintended contact
- Bottom circuit layer – completes the switching circuit
- Rear adhesive – used to mount the switch onto the product housing
During the membrane switch production process, these materials are printed, laminated, cut, and tested to form a reliable user interface component.
Step 1: Graphic Overlay Printing
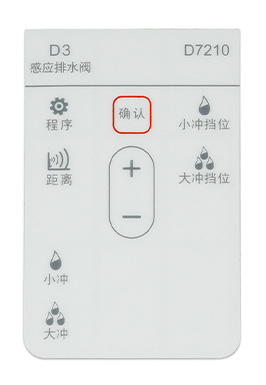
Manufacturing usually begins with the graphic overlay, which defines the visual appearance of the switch panel.
Most overlays are produced using polyester (PET) or polycarbonate (PC) films. Polyester is commonly preferred because it offers better durability, chemical resistance, and dimensional stability.
Graphics are typically applied using screen printing. This process allows thick ink layers that provide strong color coverage and good durability. In some cases, digital printing may be used for prototypes or short production runs.
The overlay may include several design elements:
- Symbols and functional labels
- Brand logos
- Transparent windows for LEDs or displays
- Embossed key areas for improved tactile response
Once printing is complete, the overlays are inspected to confirm color consistency and print alignment.
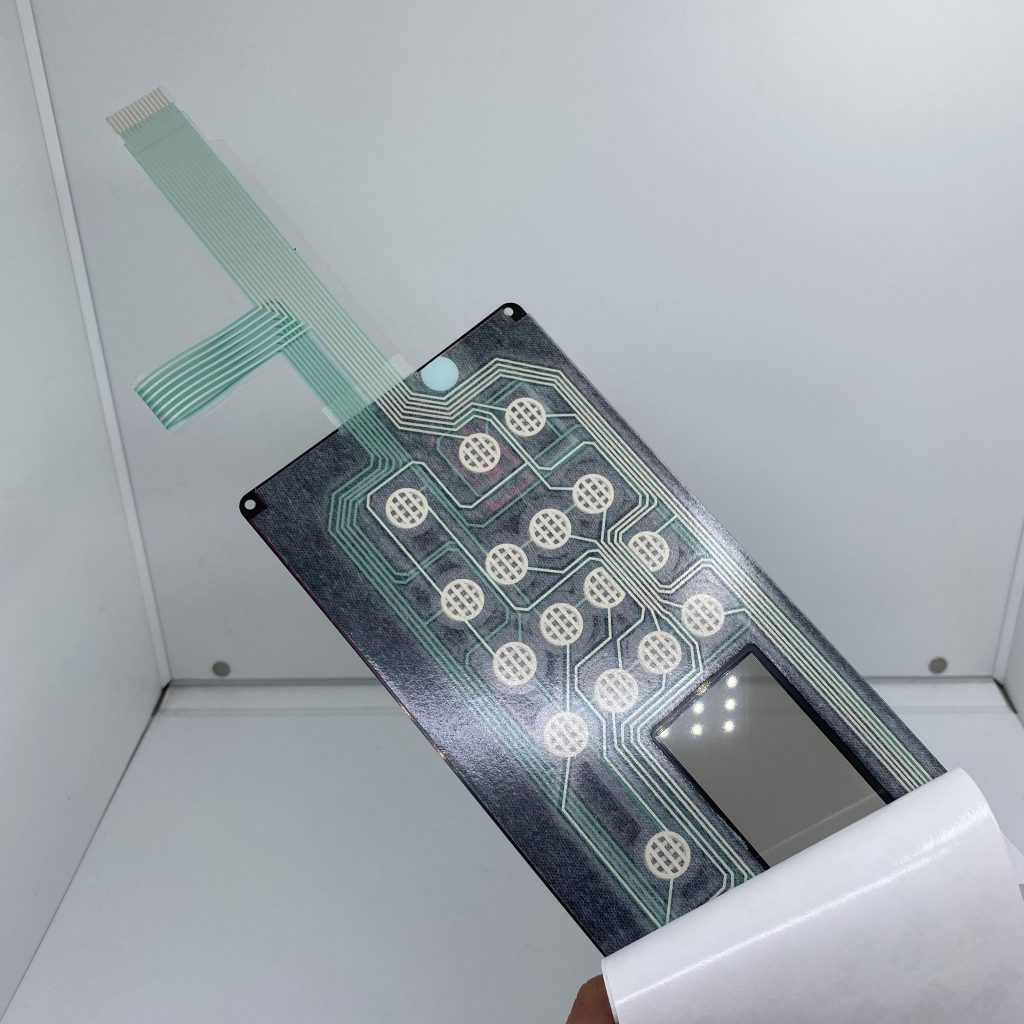
Step 2: Circuit Layer Printing
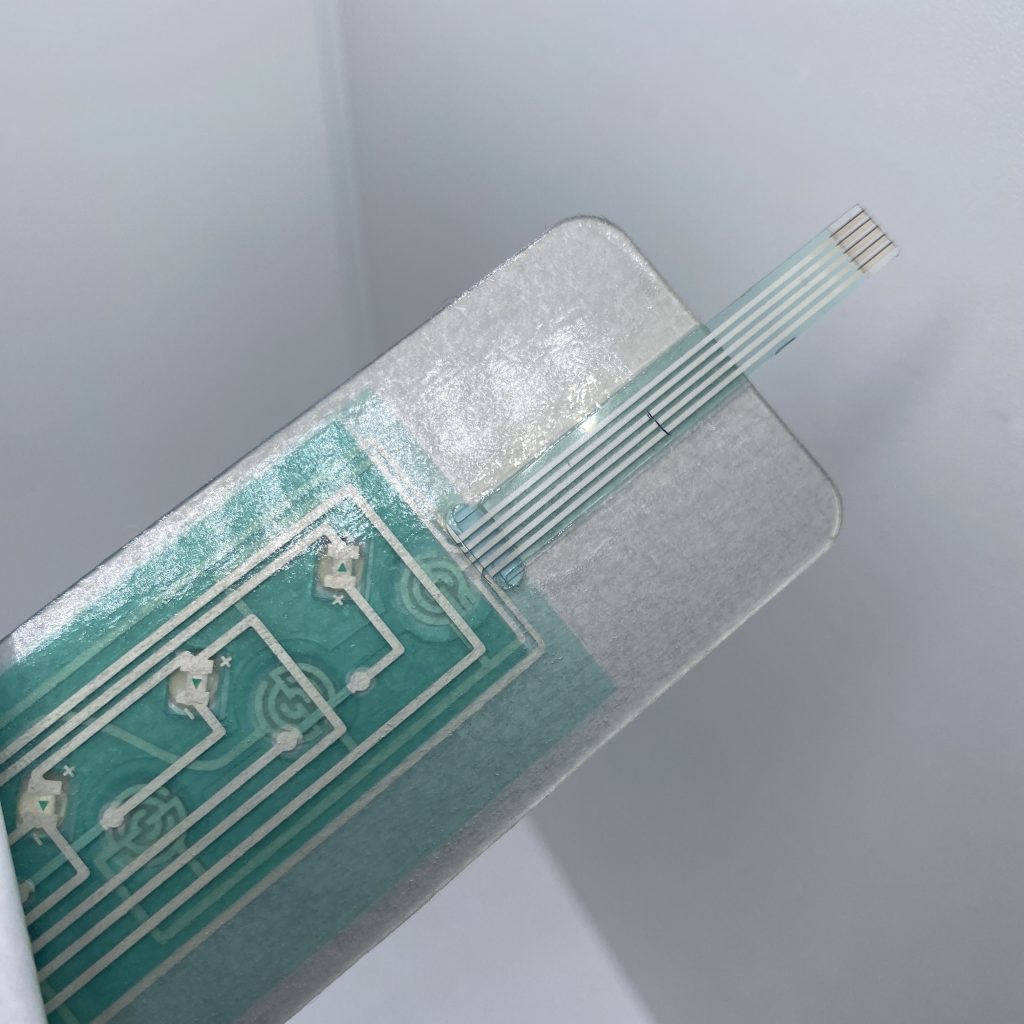
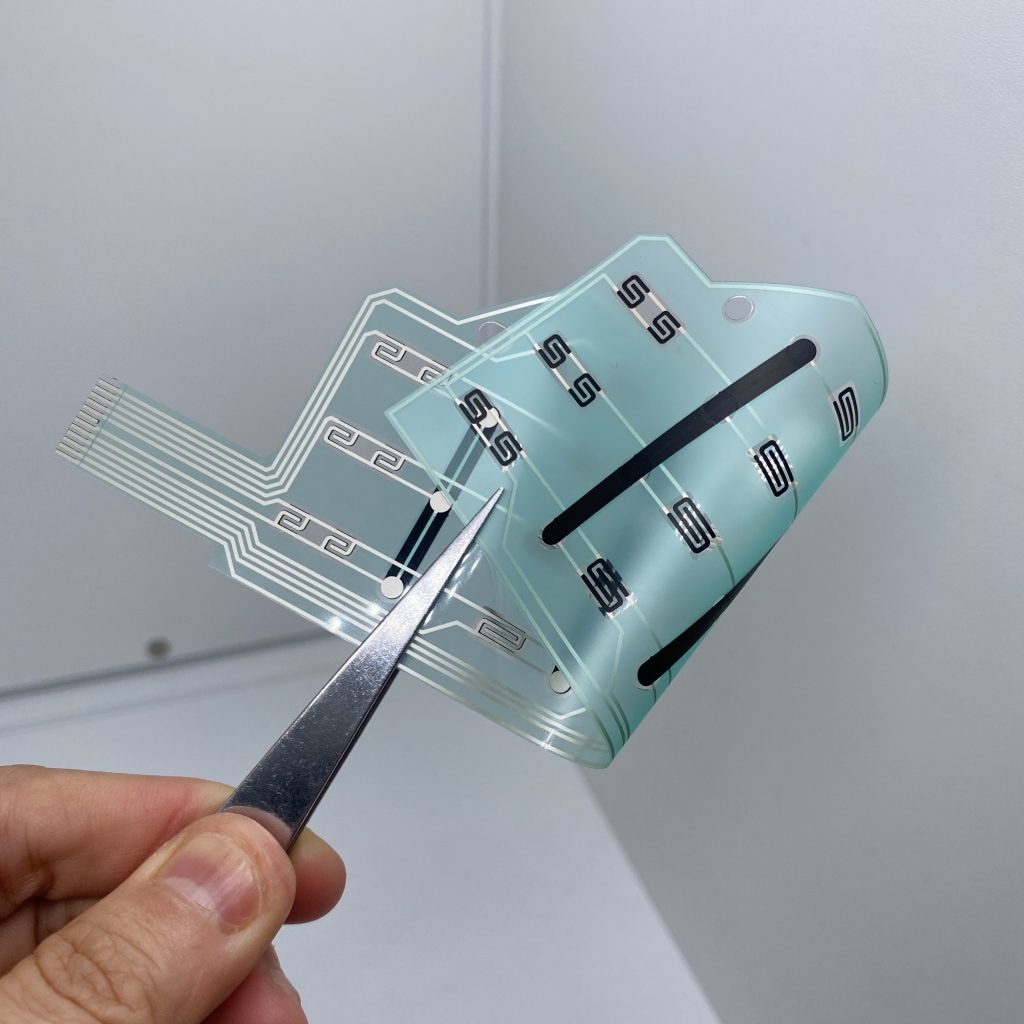
The electrical circuits that control the switch are printed on flexible polyester substrates using conductive inks.
Silver ink is commonly used for circuit traces because of its low resistance, while carbon ink is often applied on contact areas to improve durability and reduce wear.
Using precision screens, the circuit pattern is printed onto the PET film. In some designs, multiple print passes are required to achieve the desired conductivity.
After printing, the circuits are checked for:
- electrical continuity
- printing defects
- alignment accuracy
Detecting defects early in the membrane switch manufacturing process helps prevent failures later in assembly.
Step 3: Spacer and Adhesive Layer Preparation
The spacer layer creates the gap required for proper switch operation. Without it, the top and bottom circuits would remain in constant contact.
Spacer layers are typically made from polyester sheets coated with double-sided pressure-sensitive adhesive. Openings are die-cut above each switch contact location.
When the user presses the overlay, the top circuit flexes downward through the spacer opening and touches the lower circuit. When the pressure is released, the spacer separates the layers again and the circuit opens.
Spacer thickness affects switch characteristics such as actuation force and travel distance.

Step 4: Dome Placement and Assembly
In applications where tactile feedback is required, metal snap domes are added.
These small stainless-steel domes collapse when pressed and quickly return to their original shape, producing the familiar clicking sensation that many users expect from a keypad.
Depending on production volume, dome placement may be done manually or with automated pick-and-place equipment.
Some designs also integrate additional components during this stage, including LEDs or connectors.
Step 5: Laminating the Switch Layers
Once all individual layers are prepared, they are assembled through lamination.
The layers are carefully aligned using tooling guides or registration marks before pressure is applied. Accurate alignment is essential; even small shifts can affect switch performance or visual appearance.
Lamination is usually performed in a controlled environment to prevent dust or contamination from entering the switch structure.
Proper bonding ensures the finished switch maintains structural integrity during long-term use.
Step 6: Die Cutting and Tail Formation
After lamination, the assembled sheet is cut into its final shape using precision die cutting.
Custom steel-rule dies create the exact panel outline, mounting holes, and connector areas required for the product.
At the same time, the flexible tail is formed. This tail connects the membrane switch to the device’s internal circuit board.
To improve durability during installation, the tail area is often reinforced with a stiffener, typically made from PET or polyimide film.

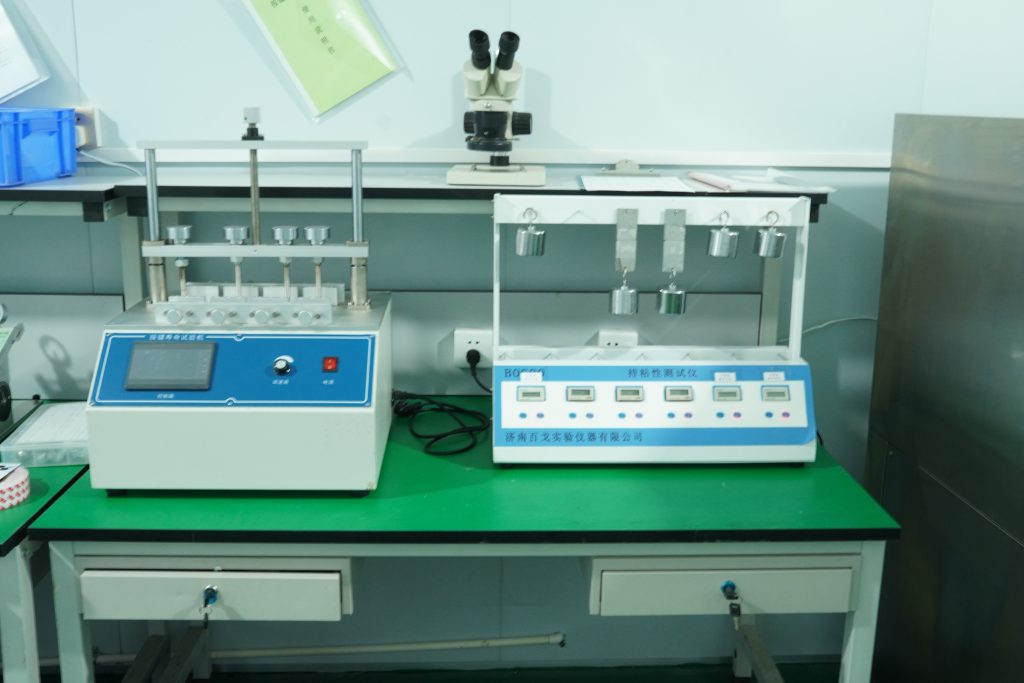
Step 7: Electrical Testing and Quality Inspection
Before shipment, every switch must pass electrical and visual inspection.
Typical tests include:
- continuity testing to verify circuit connections
- contact resistance measurement
- insulation testing between circuits
- visual inspection of graphics and structural alignment
Some manufacturers also conduct life-cycle testing on sample units to verify long-term durability.
Conclusion
Although membrane switches appear simple, their production involves several tightly controlled manufacturing stages. Printing accuracy, material quality, and proper assembly all influence how the final product performs.
A well-managed membrane switch manufacturing process helps ensure stable electrical performance and long service life.
For companies developing electronic equipment, working with an experienced custom membrane switch manufacturer can simplify development and improve reliability.
Xiamen XINBIXI Electronic Technology Co., Ltd. specializes in producing custom membrane switches for OEM projects, supporting both prototype development and mass production.
More information is available at:
https://bx-panel.com/membrane-switches/