For hardware engineers developing medical devices, industrial controllers, or POS systems, the Human-Machine Interface (HMI) is where the end-user meets the machine. That interface begins as a digital CAD file. But bridging the gap between a 2D drawing and a physical, chemical-resistant, tactile graphic overlay requires rigorous engineering execution.
Prototyping is not just about aesthetics; it is a critical validation phase. It tests adhesive shear strength, tactile actuation force, and LED backlight diffusion before committing to expensive mass-production tooling.
As a source manufacturer with over a decade of hands-on experience, BX-PANEL breaks down the exact factory processes required to turn a digital concept into a functional, ready-to-test overlay prototype.
Phase 1: DFM Engineering (Design for Manufacturing)
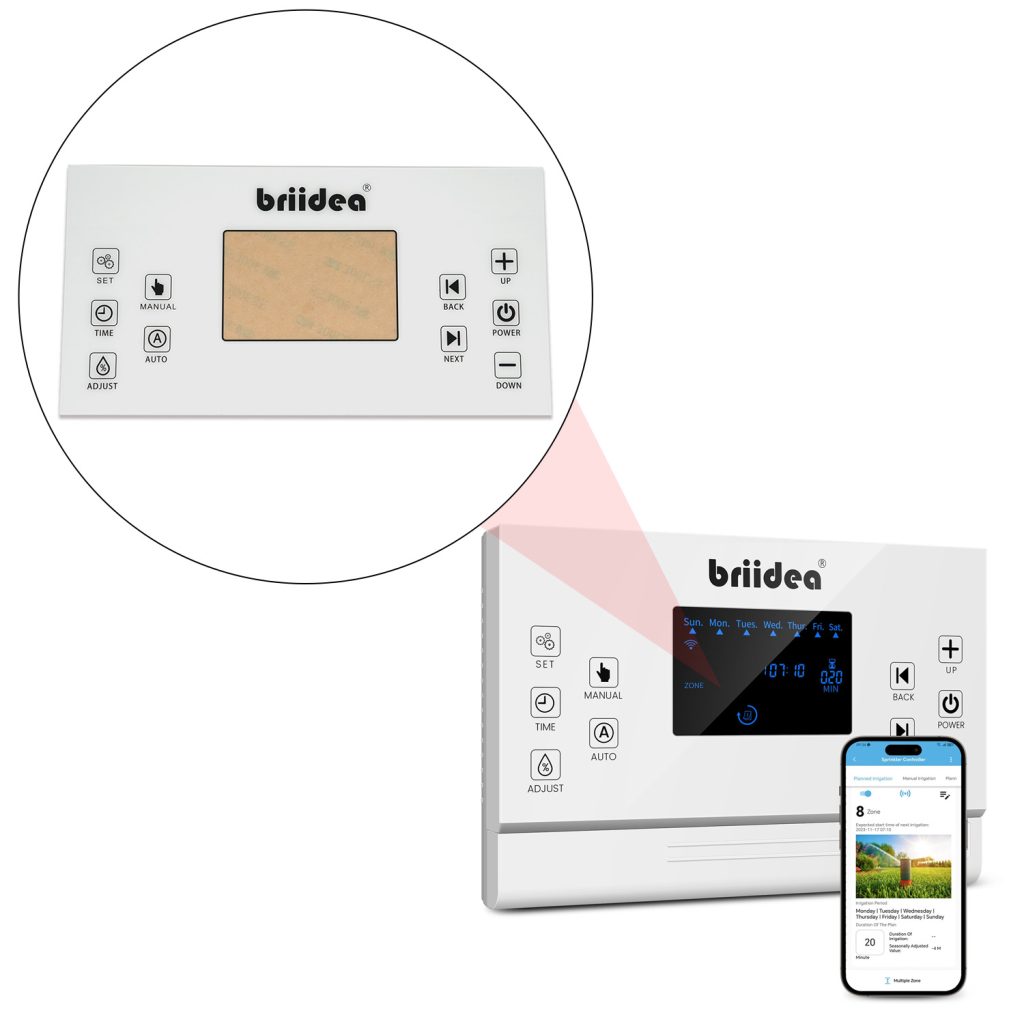
The manufacturing journey does not begin on the press; it begins in the pre-press engineering lab. When a vector file (.ai, .dxf) is received, engineers conduct a rapid DFM review.
Instead of blindly printing what is on the screen, the engineering team analyzes the file for physical manufacturability. Are the transparent LED windows properly isolated with light-blocking black borders to prevent light bleed? Are the embossing boundaries far enough from the cut edges? By identifying dimensional conflicts or unprintable font sizes early, the factory issues a revised DFM report, drastically reducing the prototype lead time.
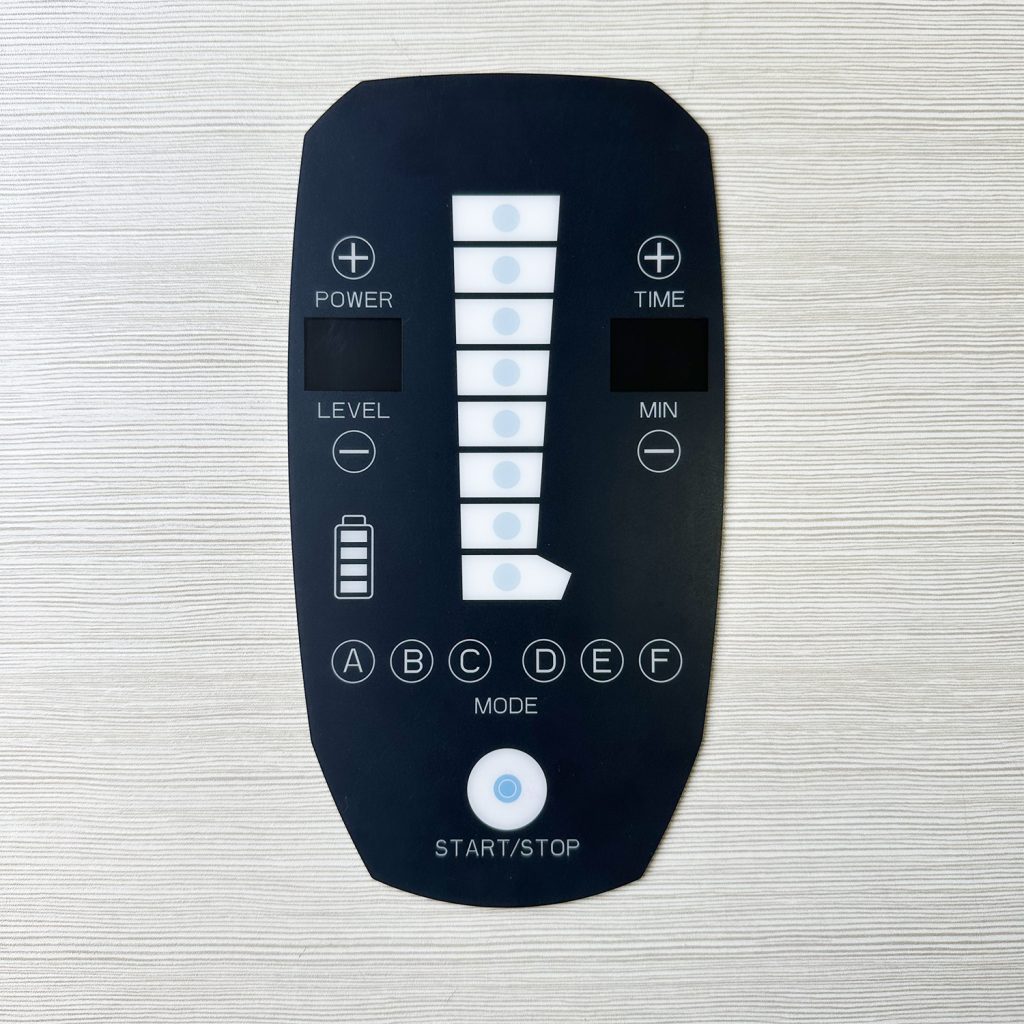
Phase 2: Material Stack-Up Specification
An overlay is only as durable as its substrate and adhesive.
- Substrates: Industrial environments demand chemical resistance and high flex life. Hard-coated Polyester (PET) is the standard for membrane switches requiring millions of actuations, while Polycarbonate (PC) is specified for enclosures facing heavy impacts.
- Adhesive Selection: A standard tape will fail in high-heat or low-surface-energy (LSE) applications. Engineers specify heavy-duty acrylic adhesives—such as the 3M 467MP for smooth metal chassis, or the 3M 300LSE for powder-coated housings—ensuring the overlay remains bonded under extreme environmental stress.
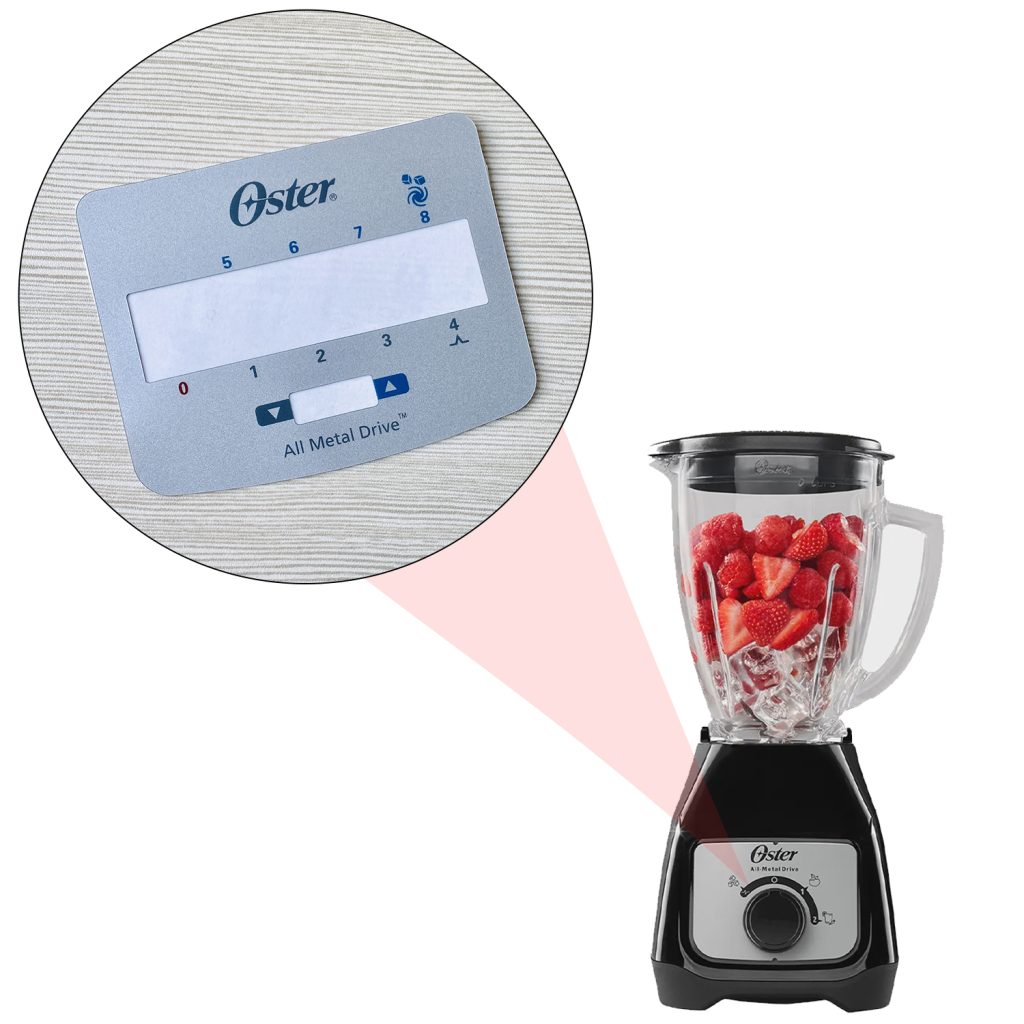
Phase 3: Sub-Surface Printing and Precision Color Matching
To protect brand graphics and critical operating instructions from scratching and cleaning solvents, industrial overlays utilize sub-surface printing (printing on the underside of the transparent substrate).
Achieving color consistency is often the most challenging aspect of this phase. For example, maintaining the exact depth of a corporate blue logo between a first-run sample and a subsequent mass-production batch requires more than just reading a Pantone code. Cured ink can appear lighter or darker depending on the thickness of the printed layer or the presence of a white backing. A well-equipped manufacturer relies on an in-house color-matching lab to actively adjust ink formulations, verifying the final output under calibrated D65 or D50 standard lighting.
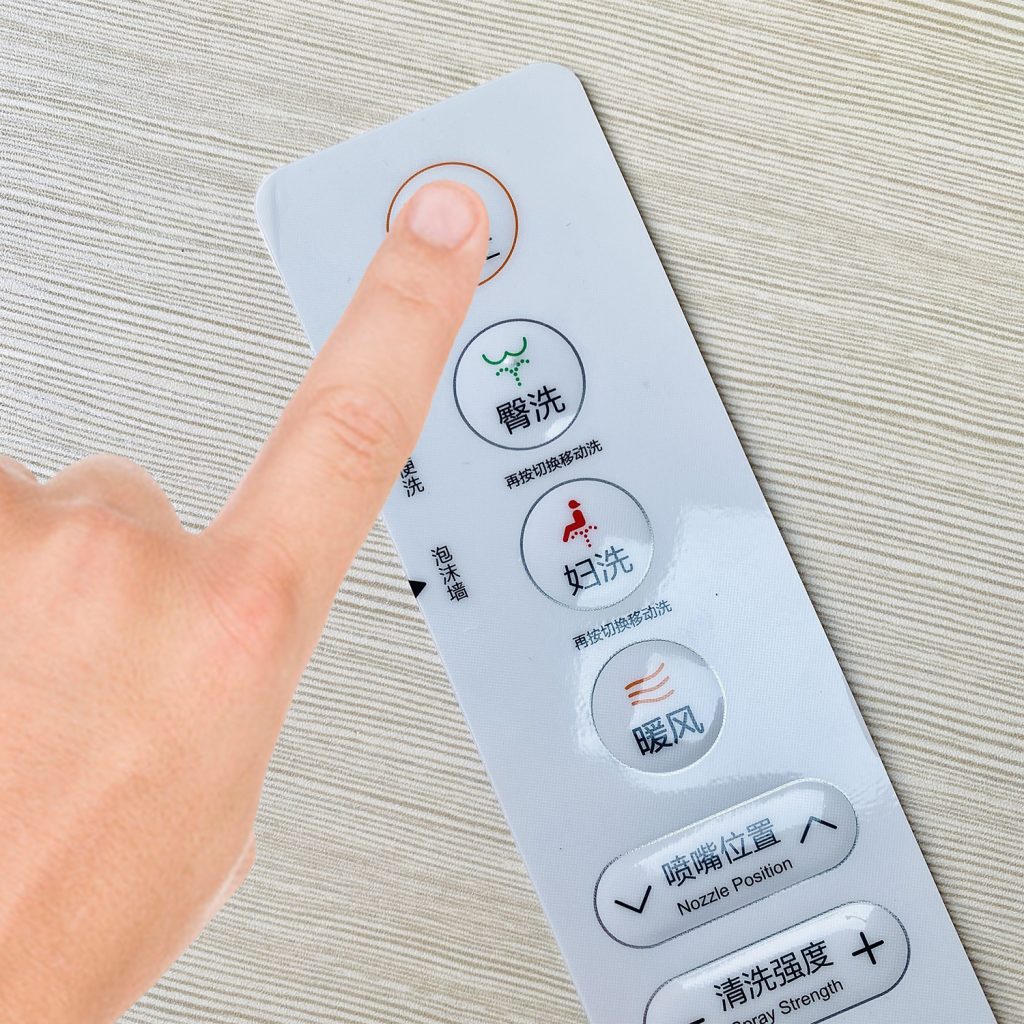
Phase 4: Tactile Embossing and CNC Die-Cutting
In environments where operators wear thick safety gloves, flat printed buttons are a liability. To provide distinct tactile feedback, specific key zones are thermo-formed. Options include pillow embossing (raising the entire key) or rim embossing (raising just the perimeter).
Finally, the overlay stack is cut to its exact dimensions. While mass production utilizes matched metal dies, rapid prototyping relies on high-precision CNC laser cutting or digital blade plotters. The rear adhesive is carefully kiss-cut—cutting through the tape but leaving the release liner intact—making it effortless for assembly line workers to peel and stick the overlay onto the final device.
Phase 5: Verification and Testing
Before a “First Article” prototype leaves the facility, it undergoes destructive and non-destructive testing. Technicians verify the actuation force of the embossed keys, conduct cross-hatch adhesion tests (ISO 2409) on the ink, and simulate chemical exposure to ensure the hard-coat performs as specified.
The Source Manufacturer Advantage
The speed and accuracy of the prototyping phase depend entirely on a supplier’s internal infrastructure. Outsourcing screen printing to one shop and laser cutting to another introduces unacceptable delays and quality risks.
Operating a fully integrated 3,000㎡ manufacturing facility, Xiamen XINBIXI Electronic Technology Co., Ltd. (BX-PANEL) controls the entire vertical process. With hundreds of skilled technicians managing everything from custom ink mixing to cleanroom assembly, we eliminate the friction of middlemen. This in-house capability allows us to execute real-time process adjustments on the shop floor, delivering precision prototypes in days, not weeks.
Ready to validate your hardware design? Contact the BX-PANEL engineering team for a rapid DFM review and prototype quotation.
- 🌐 Website: www.bx-panel.com
- 📧 Engineering Desk: [email protected]