You pull the first prototype out of the box, hold it up to the light, and immediately reach for the phone. “The Pantone is wrong. It looks washed out.”
If you are an OEM product designer or procurement manager, you have likely had this exact conversation with your membrane switch supplier. When the brand colors on a custom graphic overlay look muddy, tinted, or incorrect, the immediate instinct is to blame the printing process. You assume the factory mixed the wrong ink or took shortcuts on the press.
But in the world of industrial graphic overlays, achieving color consistency is a complex optical equation. A membrane switch color mismatch is rarely a simple printing error. It is usually a physics problem.
Here is the factory-floor reality of why your overlay colors don’t match your design file, and how you can engineer the perfect color match for your next production run.
The Stack-Up: You Aren’t Just Looking at Ink
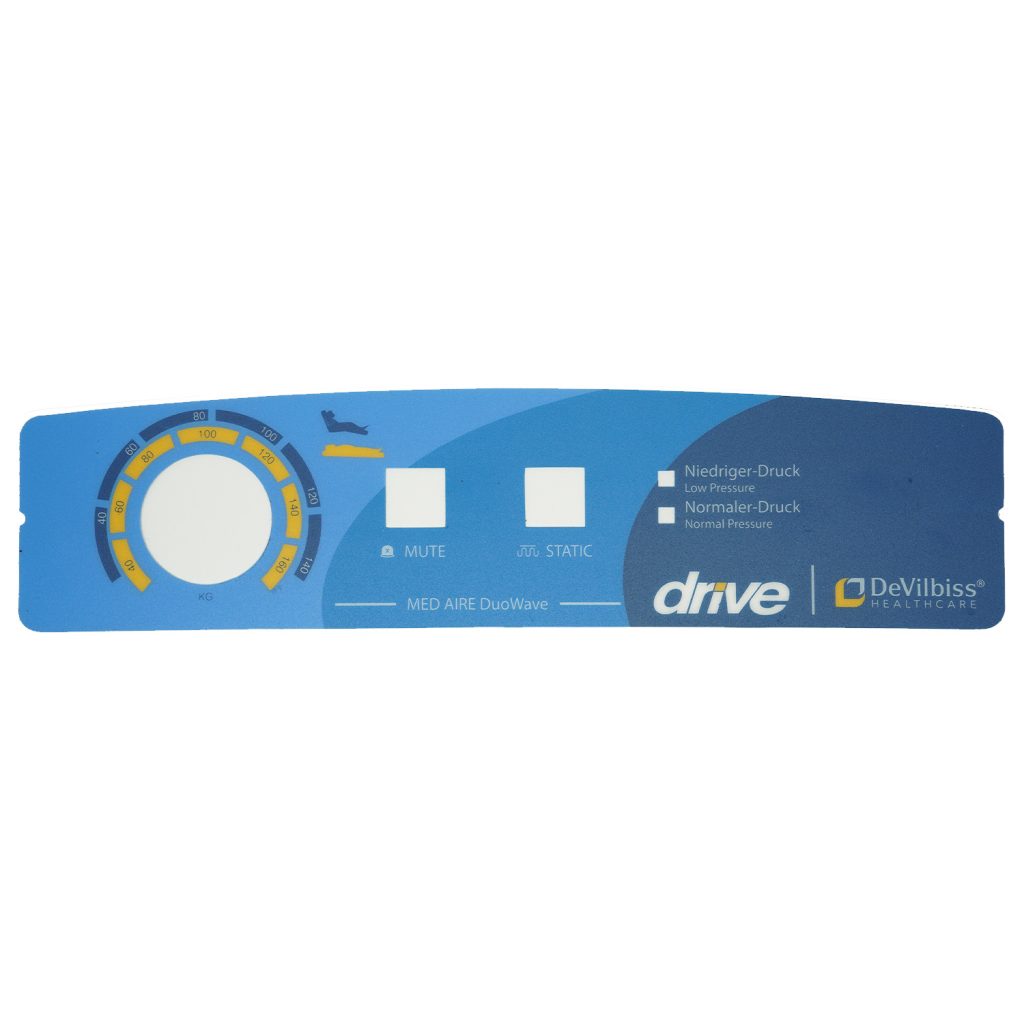
The biggest misconception in overlay design is treating the material like paper. Graphic overlays utilize a sub-surface printing method. The ink is printed on the back side of the plastic, followed by adhesive.
When you look at a membrane switch, you are not looking directly at the ink. You are looking through a plastic window. This introduces several physical variables that actively alter the color before it reaches your eye.
1. The Substrate Filter (PET vs. Polycarbonate)
Industrial plastics are not perfectly invisible. A 0.25mm sheet of Polycarbonate (PC) or Polyester (PET) has a natural, microscopic tint—usually slightly yellowish or bluish. When light passes through this substrate, bounces off the ink, and travels back through the plastic to your eye, that natural tint acts as a subtle filter, shifting the perceived color of the ink beneath it.
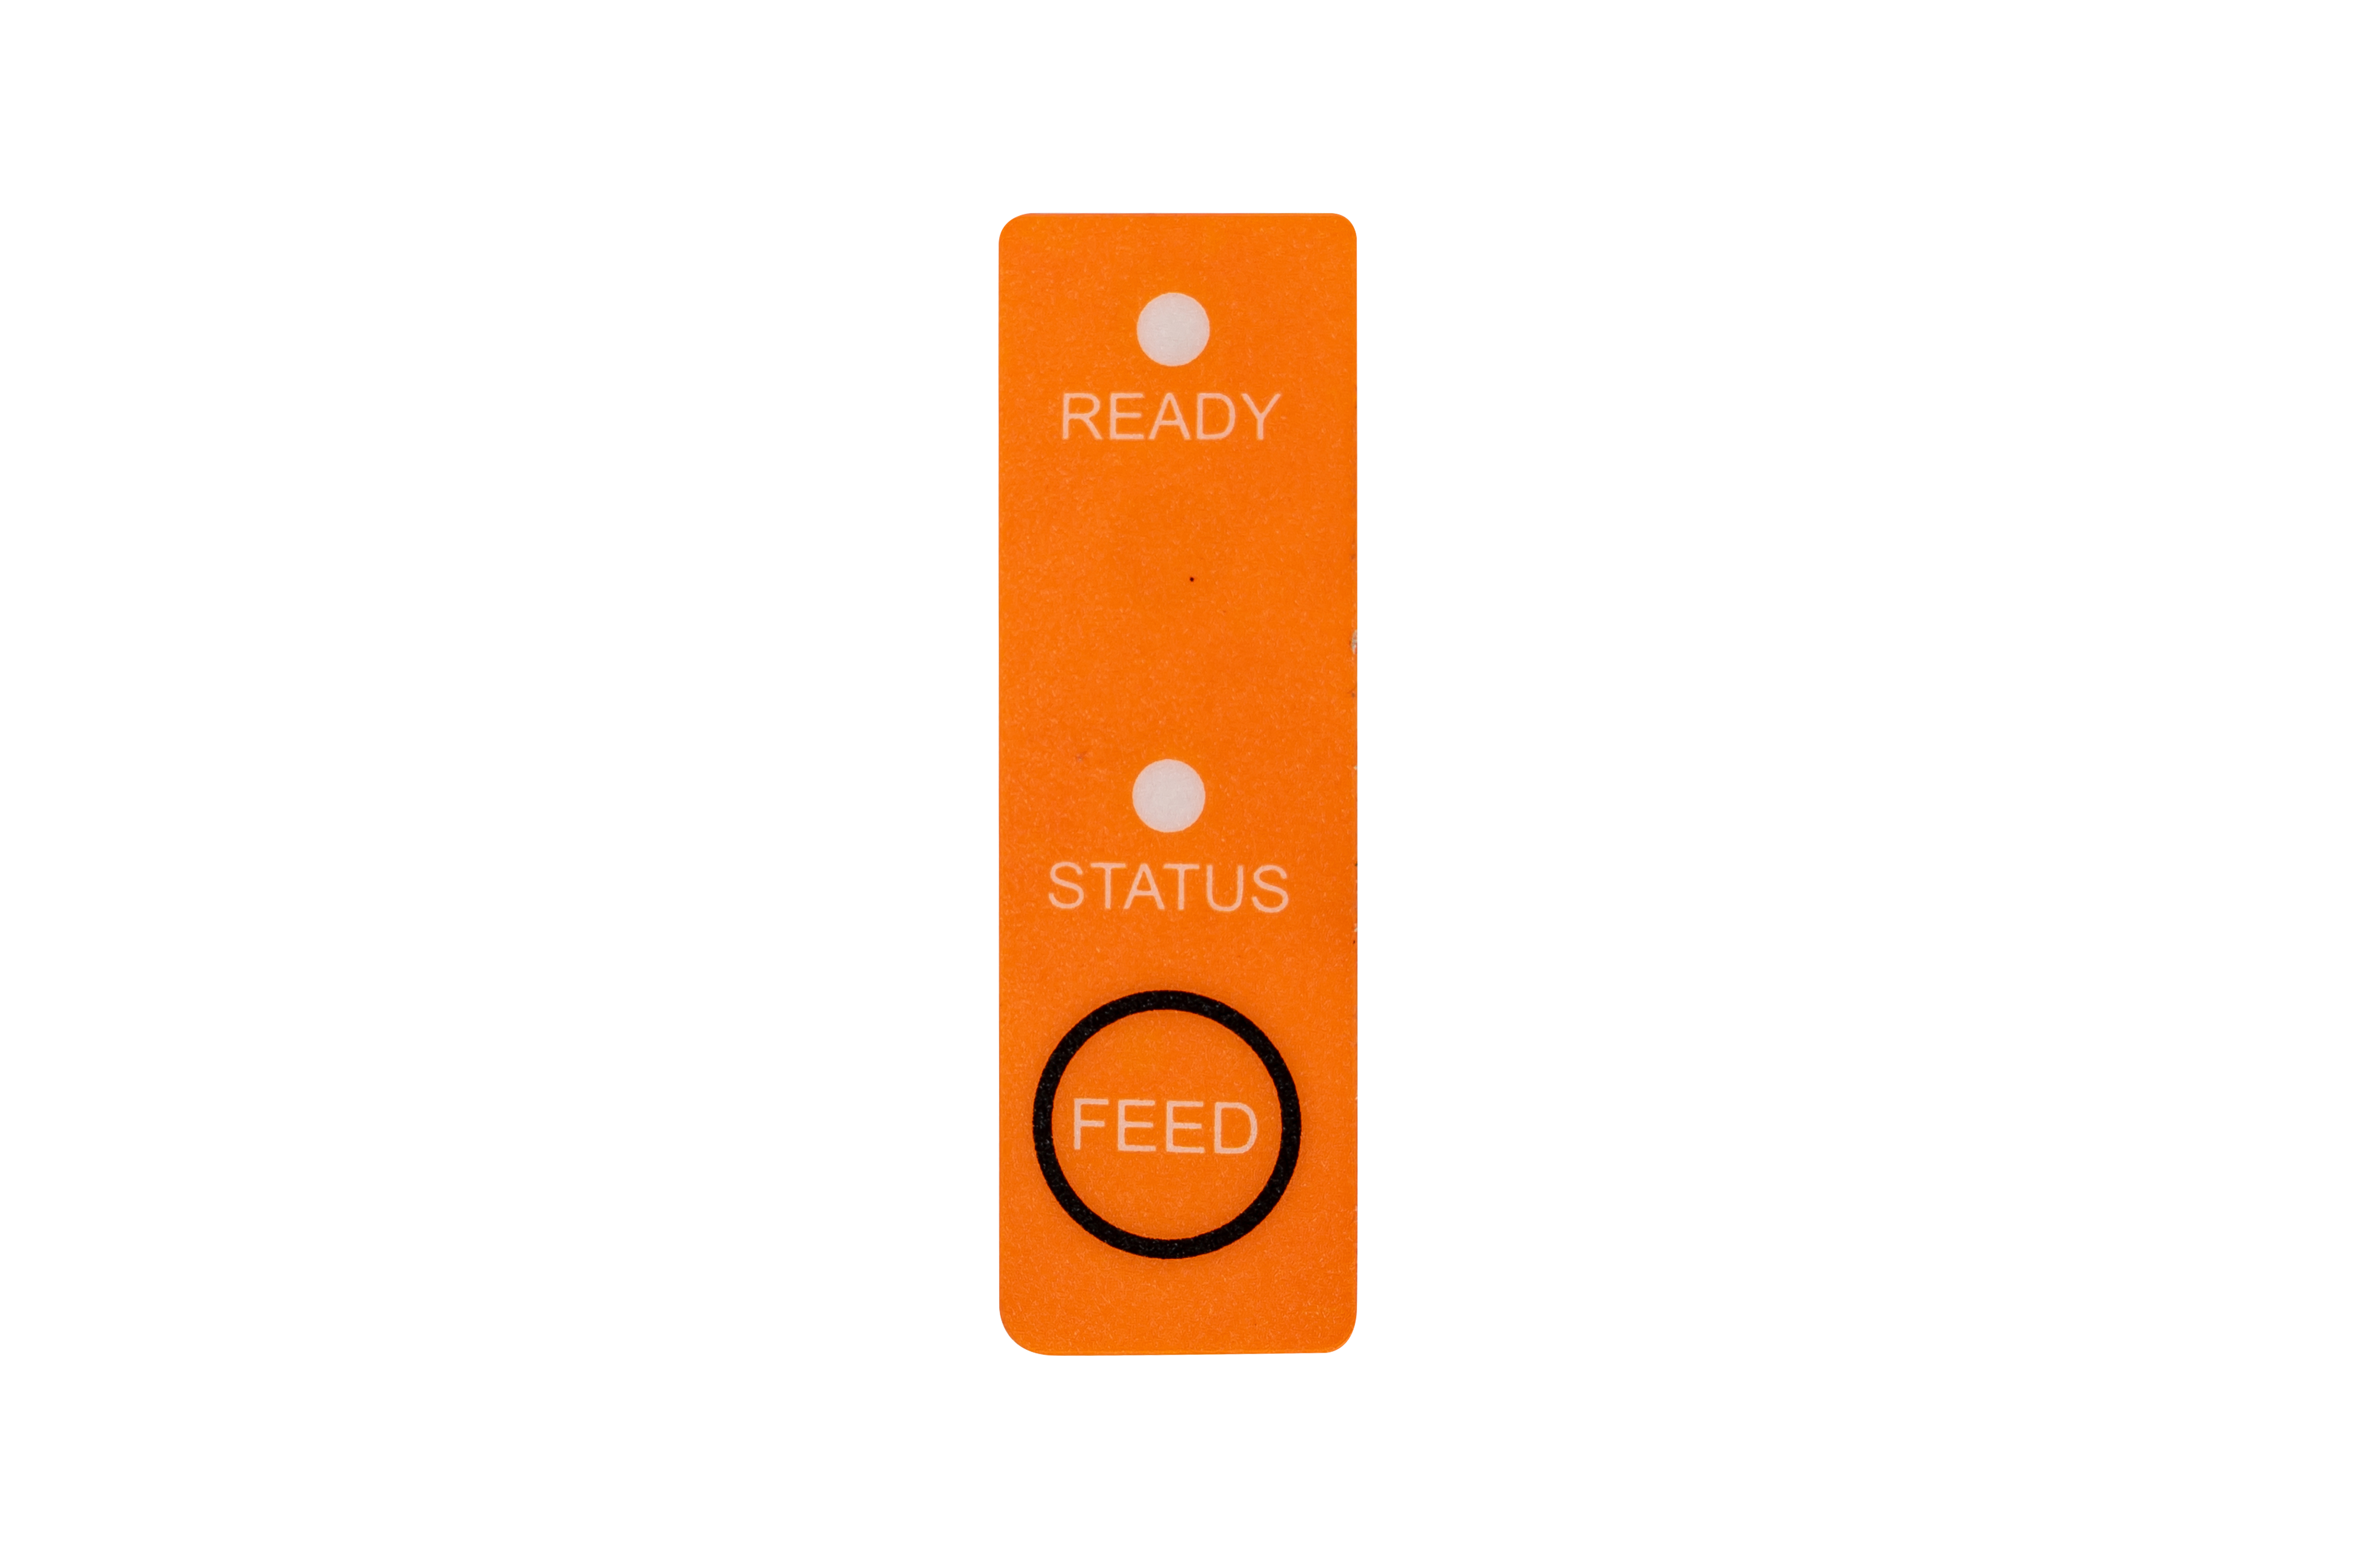
2. Surface Finish: The Texture Lens
The texture of the overlay drastically changes how color is perceived.
- Gloss Finishes are perfectly smooth. They reflect light directly, creating deep, highly saturated, and vibrant colors.
- Matte or Velvet Finishes feature microscopic peaks and valleys. This texture scatters light to reduce glare and hide fingerprints. However, this scattered light makes the underlying ink appear slightly lighter, softer, or less saturated than the exact same ink printed under a gloss finish.
3. The “Metamerism” Trap (Lighting Matters)
Have you ever approved a color in a naturally lit office, only to realize it looks completely different on the assembly line? This is called Metamerism. Two ink formulas might match a Pantone swatch perfectly under a D65 standard daylight bulb, but look entirely mismatched under the warm LED lights of a hospital room or the fluorescent tubes of a factory floor. If you do not specify the final lighting environment, a color mismatch is almost guaranteed.
4. The White Backup Layer
Because overlay inks are slightly translucent, they require a solid layer of white ink printed behind them (the “white backup”) to make the colors pop. If a manufacturer applies a white layer that is too thin, the dark adhesive or the dark plastic housing of your device will absorb the light, making your bright red or vibrant blue look dark, muddy, and incorrect.
How to Engineer a Perfect Color Match
Color accuracy shouldn’t be a guessing game. To ensure your brand identity remains intact, follow these engineering best practices when submitting your next design:
- Ditch the Screen, Use Pantone: Never rely on how a color looks on your backlit computer monitor (RGB). Always specify exact Pantone Solid Coated colors on your blueprints.
- Provide Physical Targets: If you need the membrane switch to perfectly match an injection-molded plastic housing or a powder-coated metal chassis, ship a physical sample of that housing to the manufacturer. Ink on plastic will never inherently match painted metal, but a physical chip gives the factory a tangible target to calibrate against.
- Define the Lighting: Tell your manufacturer exactly where the device will be used. Do you need the color matched under natural daylight, or standard indoor LED lighting?
- Demand Physical Proofs: Always request a physical first-article sample before mass production. Do not approve colors based on a digital PDF proof.
Manufacturing Precision at BX-PANEL
When color accuracy is critical to your brand’s perceived value, you need a manufacturing partner who treats color matching as a science, not a guessing game.
At Xiamen XINBIXI Electronic Technology Co., Ltd. (BX-PANEL), we don’t rely on the “eyeball test.” With over a decade of OEM manufacturing experience and a massive, fully-equipped production facility, we approach color with rigorous metrology.
We utilize advanced spectrophotometers to measure color mathematically, managing the Delta-E (ΔE) tolerances strictly within your specifications. Furthermore, our engineering team compensates for material thickness, matte finishes, and backlighting before we ever hit the printing press, ensuring your colors are vibrant, consistent, and perfectly matched in the real world.
Don’t let optical illusions compromise your brand. Partner with the experts at BX-PANEL to engineer a flawless, reliable user interface for your next project.
- 🌐 Explore our capabilities: www.bx-panel.com
- 📧 Request a color consultation: [email protected]